EKS Upgrade
Overview
As Kubernetes is constantly releasing new versions, and deprecating older versions, so to are the cloud provider implementations like EKS which Opta uses for Kubernetes on AWS. Unlike in GKE, in EKS these upgrades are not handled automatically and the users are expected to manually update their cluster themselves. Fortunately for Opta users, this process does not need to be difficult and we have written an abridged version which should cover Opta-managed EKS setups.
The guide below does the update via the AWS Console, but you can do the commands via the cli as well if you so wish Please refer to here for more details.
Steps
As Kubernetes always maintains 1 minor version compatibility backwards or forwards, all Kubernetes upgrades should be done one minor version at a time. EKS actually enforces this process. This means that if, for example, one wishes to go from version 1.18 to 1.21, they will need to do the update of 1.18 -> 1.19, then 1.19 -> 1.20 and finally 1.20 -> 1.21. You can often do these repetitions in quick succession, but please read the Breaking Changes section carefully as some upgrades may require extra steps.
To begin the upgrade, go to your AWS console UI, to the EKS section, and to the details of the cluster in question (make sure that you are in the correct region or otherwise you will not see the cluster’s details). The name of your cluster should be of the form “opta-{NAME OF YOUR ENV}”. You should see a screeen like the following:
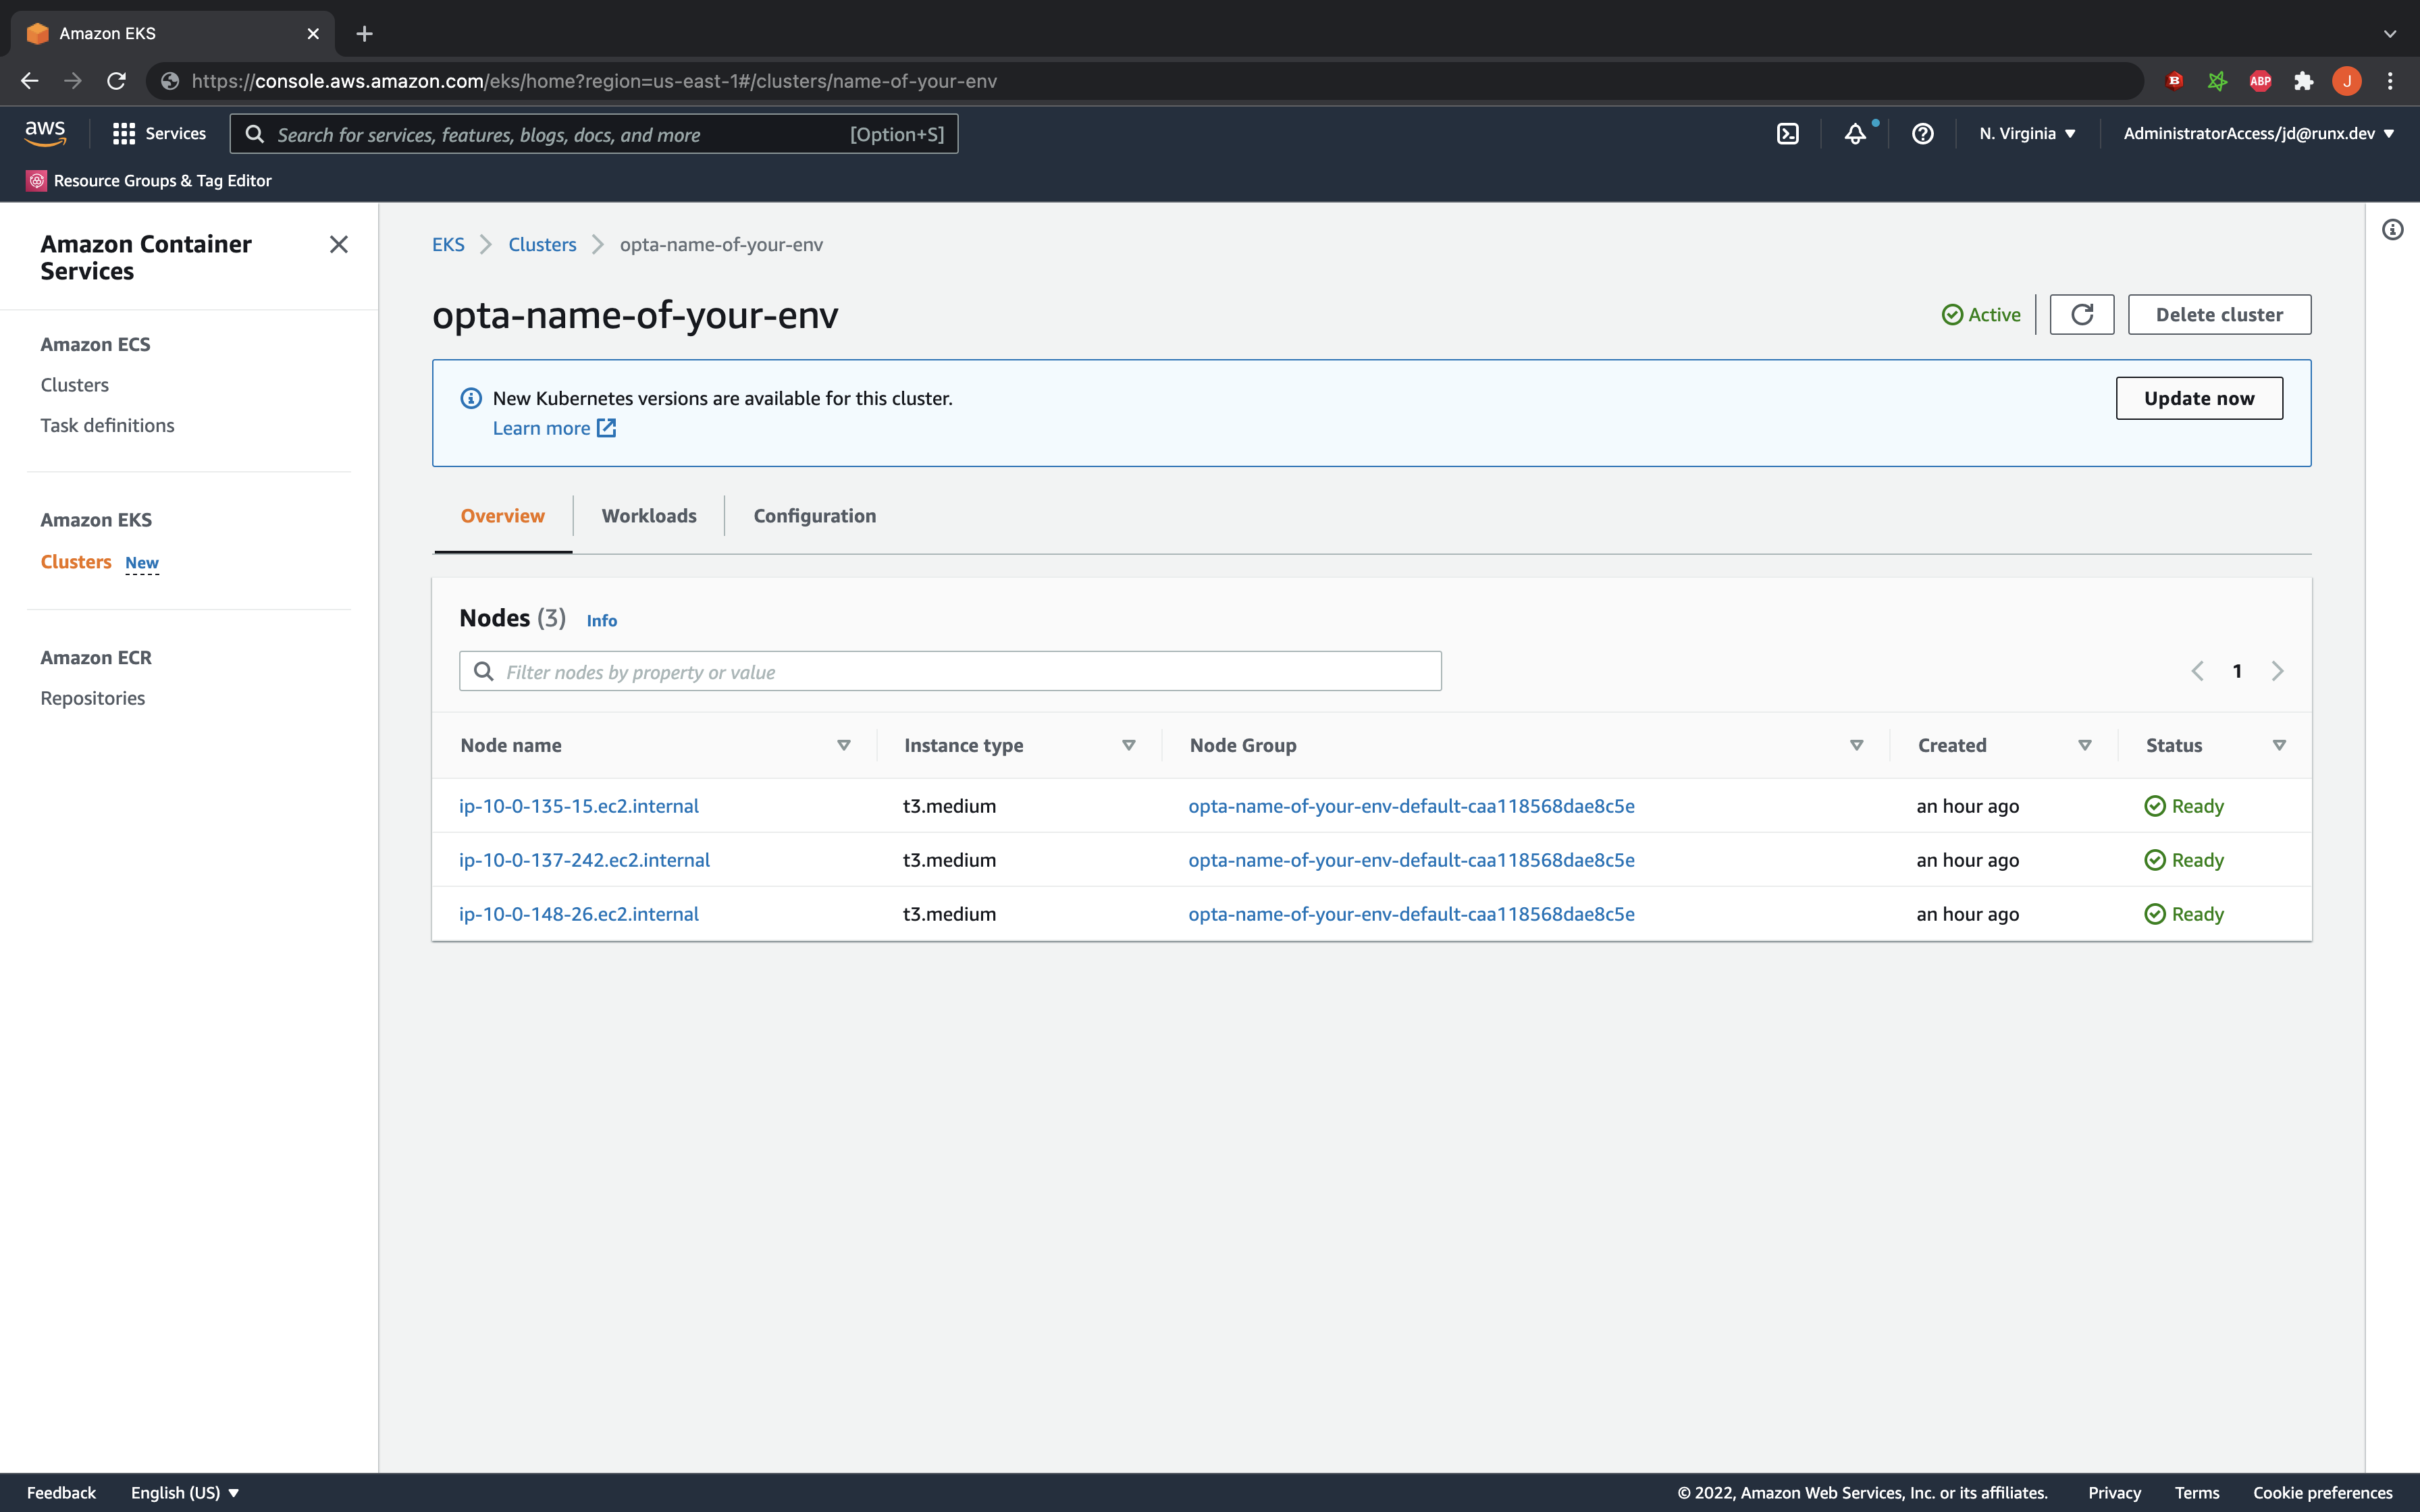
Step 1: Upgrade the Control Plane
We will begin by updating the Kubernetes control plane.
To begin, simply click on the Update Now button which should be on your screen. It will lead you to a pop-up like so:

THIS IS IMPORTANT: The control plane not only manages the container orchestration, but also the API through which
users interact, meaning that no new deployments or kubectl access should be attempted while this step is being done
(~20 minutes). Your currently running applications will NOT be impacted. Please schedule the upgrade time accordingly.
Click Update, and wait until the update is complete.
Step 2: Upgrade the Nodes
Once the control plane is upgraded, you will need to upgrade the individual nodes running your workloads. As Opta uses
managed node groups (and by default installs at least 1), one can mass-upgrade the nodes by upgrading the managed node group.
You can do this by going to the Configuration tab of your EKS cluster and clicking on the Compute section. You should
see your managed node groups listed like so:
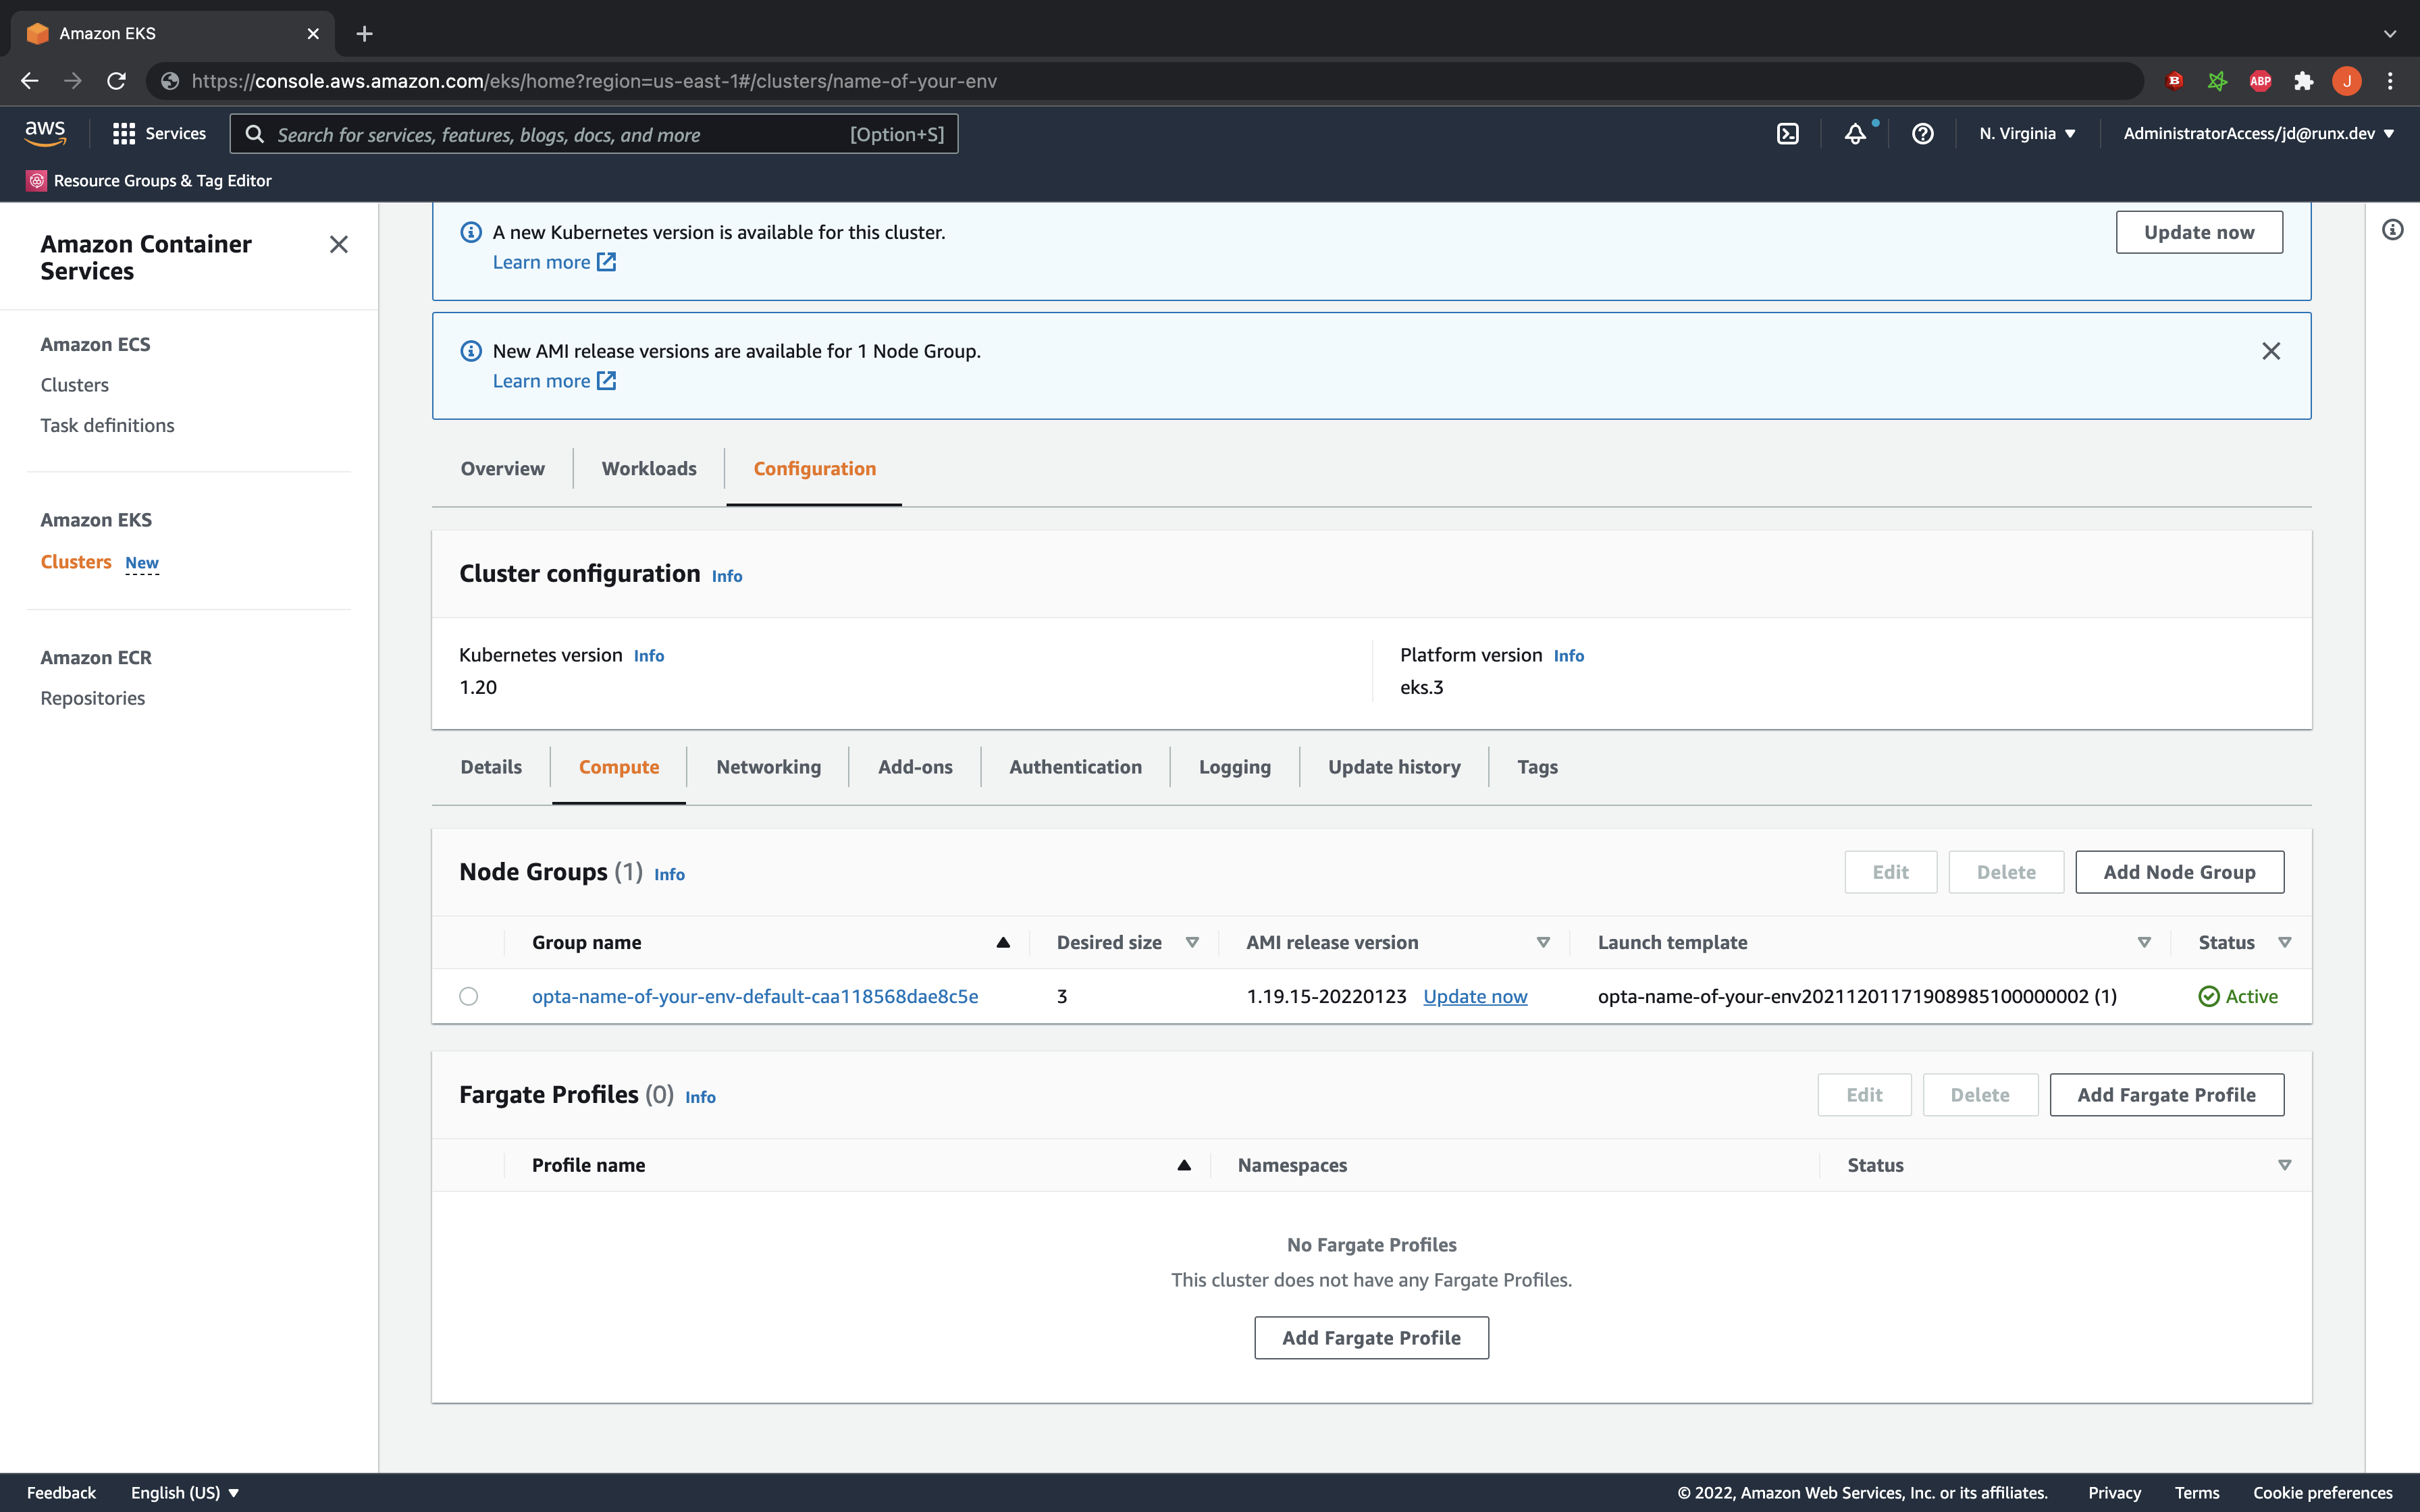
If Step 1 was completed successfully, you should see an Update now link like in the example above. Click there to
begin configuring the K8s upgrade. It will lead you to a pop-up like so:
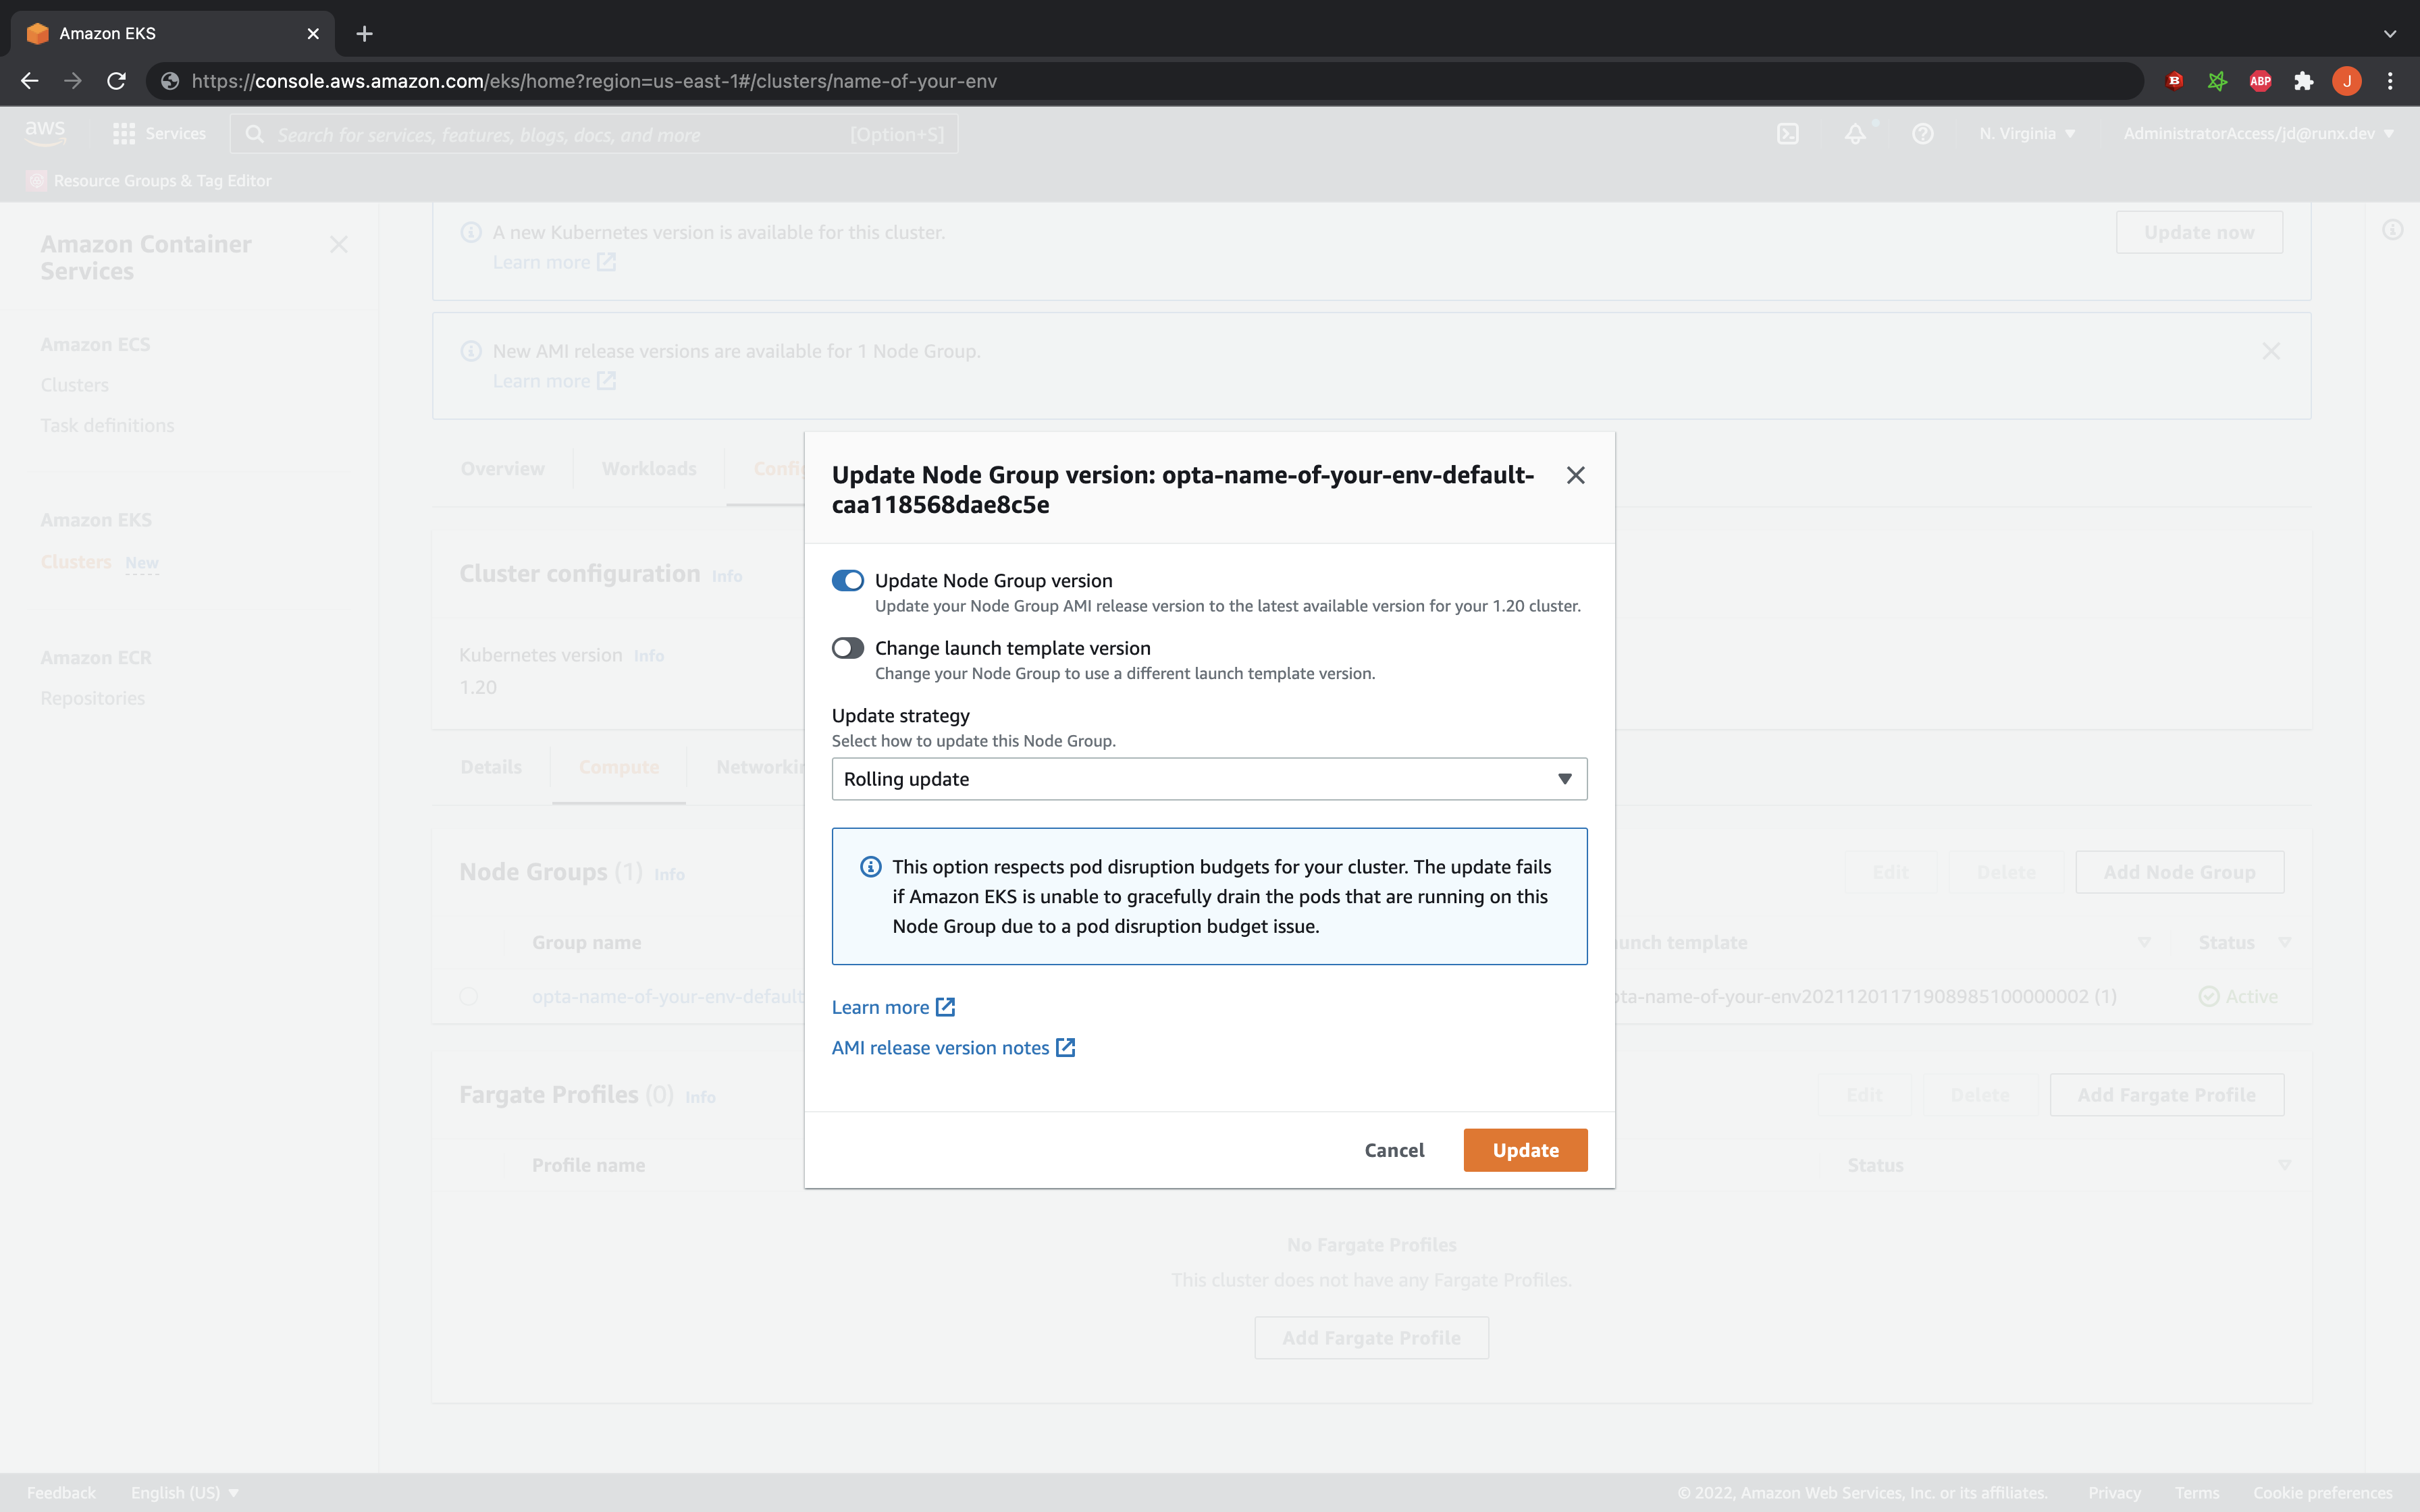
THIS IS IMPORTANT: Because all the nodes will be replaced, there will be a minute or two of downtime if you did not
set the nginx ingress to high availability on your k8s-base instance,
and all the containers will be restarted, including the nginx pods (which is where the downtime originates from). You
may incur additional downtime if you containers take some time to start up. Please schedule the upgrade time accordingly.
Furthermore, note that the Update strategy is set to Rolling update– this ensures that your nodes are not
mass-destroyed meaning that your workloads can slowly migrate over to the new hosts instead of all dying and restarting
at once.
To begin, simply click the Update button, and the upgrade should take ~20 minutes. If you’re interested, you will be
able to trace the progress using kubectl get nodes and kubectl get pods -A as the new nodes are created, the pods
are migrated, and the old nodes killed.
Remember to rerun this step for each node group. As infrastructure changes should be done slowly and carefully (and the backwards compatibility of kubernetes allows us to take things slowly), do not do more than one at a time.
Step 3: Update the k8s version in Opta
Once all the manual migration is done, you must update the Opta specs to reflect the kubernetes version upgrade.
To do so, set the k8s_version field in the k8s-cluster block of your environment’s yaml to your new kubernetes version.
NOTE: The k8s_version field may not be currently specified in your yaml as it comes with a default. Opta
continuously updates this default but in order to not force downtime on the users the changes in the default do not
affect existing clusters, only new ones. Please refer to here
for more details of the k8s-cluster block.
For example, if you just upgraded to kubernetes version 1.21, then your environment yaml may change from looking like this:
name: staging # name of the environment
org_name: my-org # A unique identifier for your organization
providers:
  aws:
    region: us-east-1
    account_id: XXXXXXXXX
modules:
  - type: base
  - type: dns
    domain: your.domain.com
    delegated: false
  - type: k8s-cluster
  - type: k8s-base
To looking like this:
name: staging # name of the environment
org_name: my-org # A unique identifier for your organization
providers:
  aws:
    region: us-east-1
    account_id: XXXXXXXXX
modules:
  - type: base
  - type: dns
    domain: your.domain.com
    delegated: false
  - type: k8s-cluster
    k8s_version: "1.21"
  - type: k8s-base
Breaking Changes
Outside of Opta
Opta will provide warnings and documentation for upgrading all of our managed components, but you should make sure that none of the third party helm charts/kubernetes manifests you have installed on your Kubernetes cluster have any version incompatibility either. Please refer to this Kubernetes API deprecation guide to change your code accordingly.
1.18 through 1.21
No breaking changes or extra steps identified. You’re good to go.
References
https://docs.aws.amazon.com/eks/latest/userguide/update-cluster.html https://docs.aws.amazon.com/eks/latest/userguide/kubernetes-versions.html
Feedback
Was this page helpful?
Glad to hear it! Please tell us how we can improve.
Sorry to hear that. Please tell us how we can improve.